

Graffiti Breakdown: What Your Throwies Are Missing
If you've ever looked at your graffiti and thought, “My handstyle feels off,” or “My throwies don’t come out like I imagined,” you're not alone. In this graffiti tutorial, we’re breaking down real user-submitted artwork to show exactly how to improve your graffiti—step by step. Whether you're struggling with throwies, tags, or straight letter pieces, this video and blog will help you tighten your style and level up your graffiti skills with clear, actionable advice.
1. Master Throwie Structure with Consistent Shapes

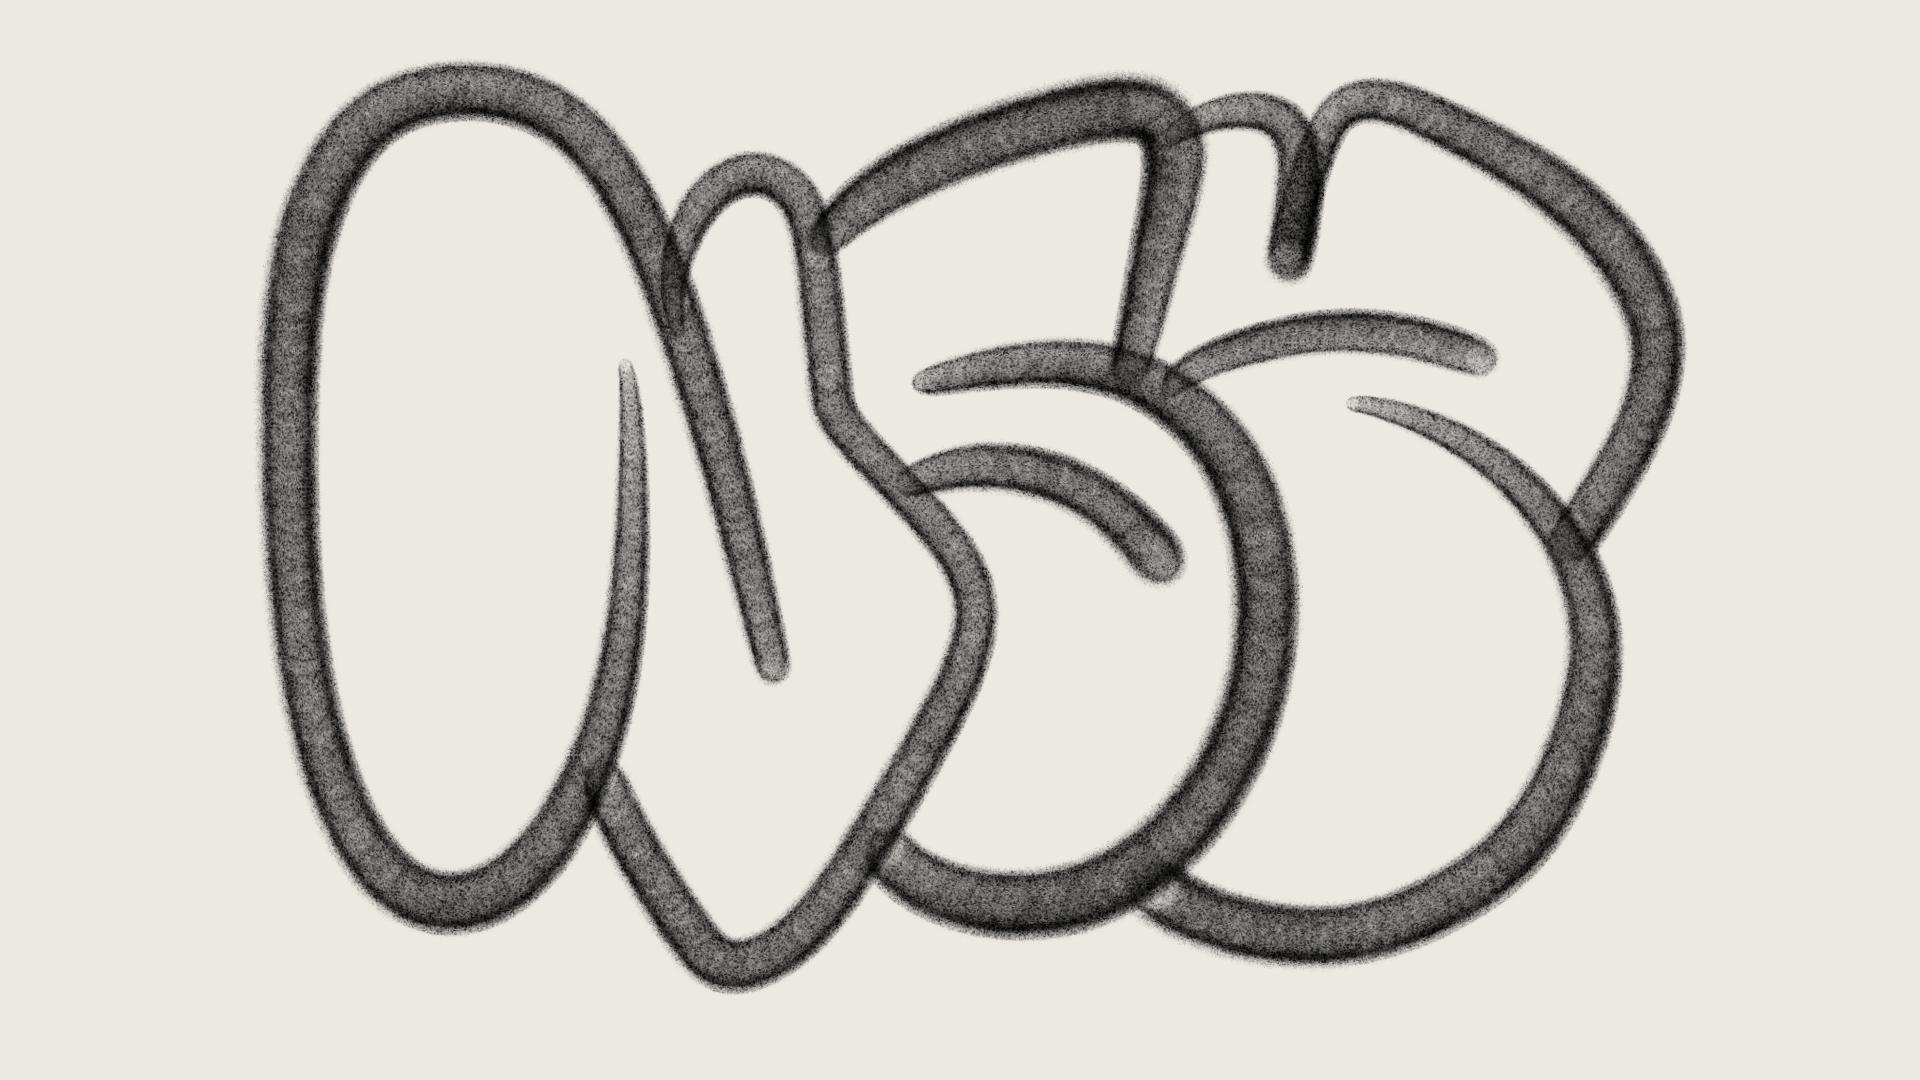

Throwies can be tricky, especially when the letter widths are inconsistent or the shapes are too ambiguous. One of the biggest mistakes beginners make is sloppy or unclear shapes. The fix? Refine your shapes while maintaining the original structure. Whether you're using rounded edges or squared-off corners, or even rounded square edges, the key is to commit to a shape and stay consistent throughout the throwie. By committing to a specific shape, we’re still able to do things like rounded squares, but we can easily distinguish between our straight and curved lines. This helps refine the structure for each letter. The first image shows NSZ’s throwie, and in the second photo, we kept all of the letters exactly the same, and instead, we simply defined the shapes more. For clarity's sake, I should note that we could have gone with a rounded square for the left of the N but we didn’t in our first iteration. Our last photo is how I would change the throwie if I were to redesign it in a similar way to his.
2. Evolve Your Style Beyond Habits
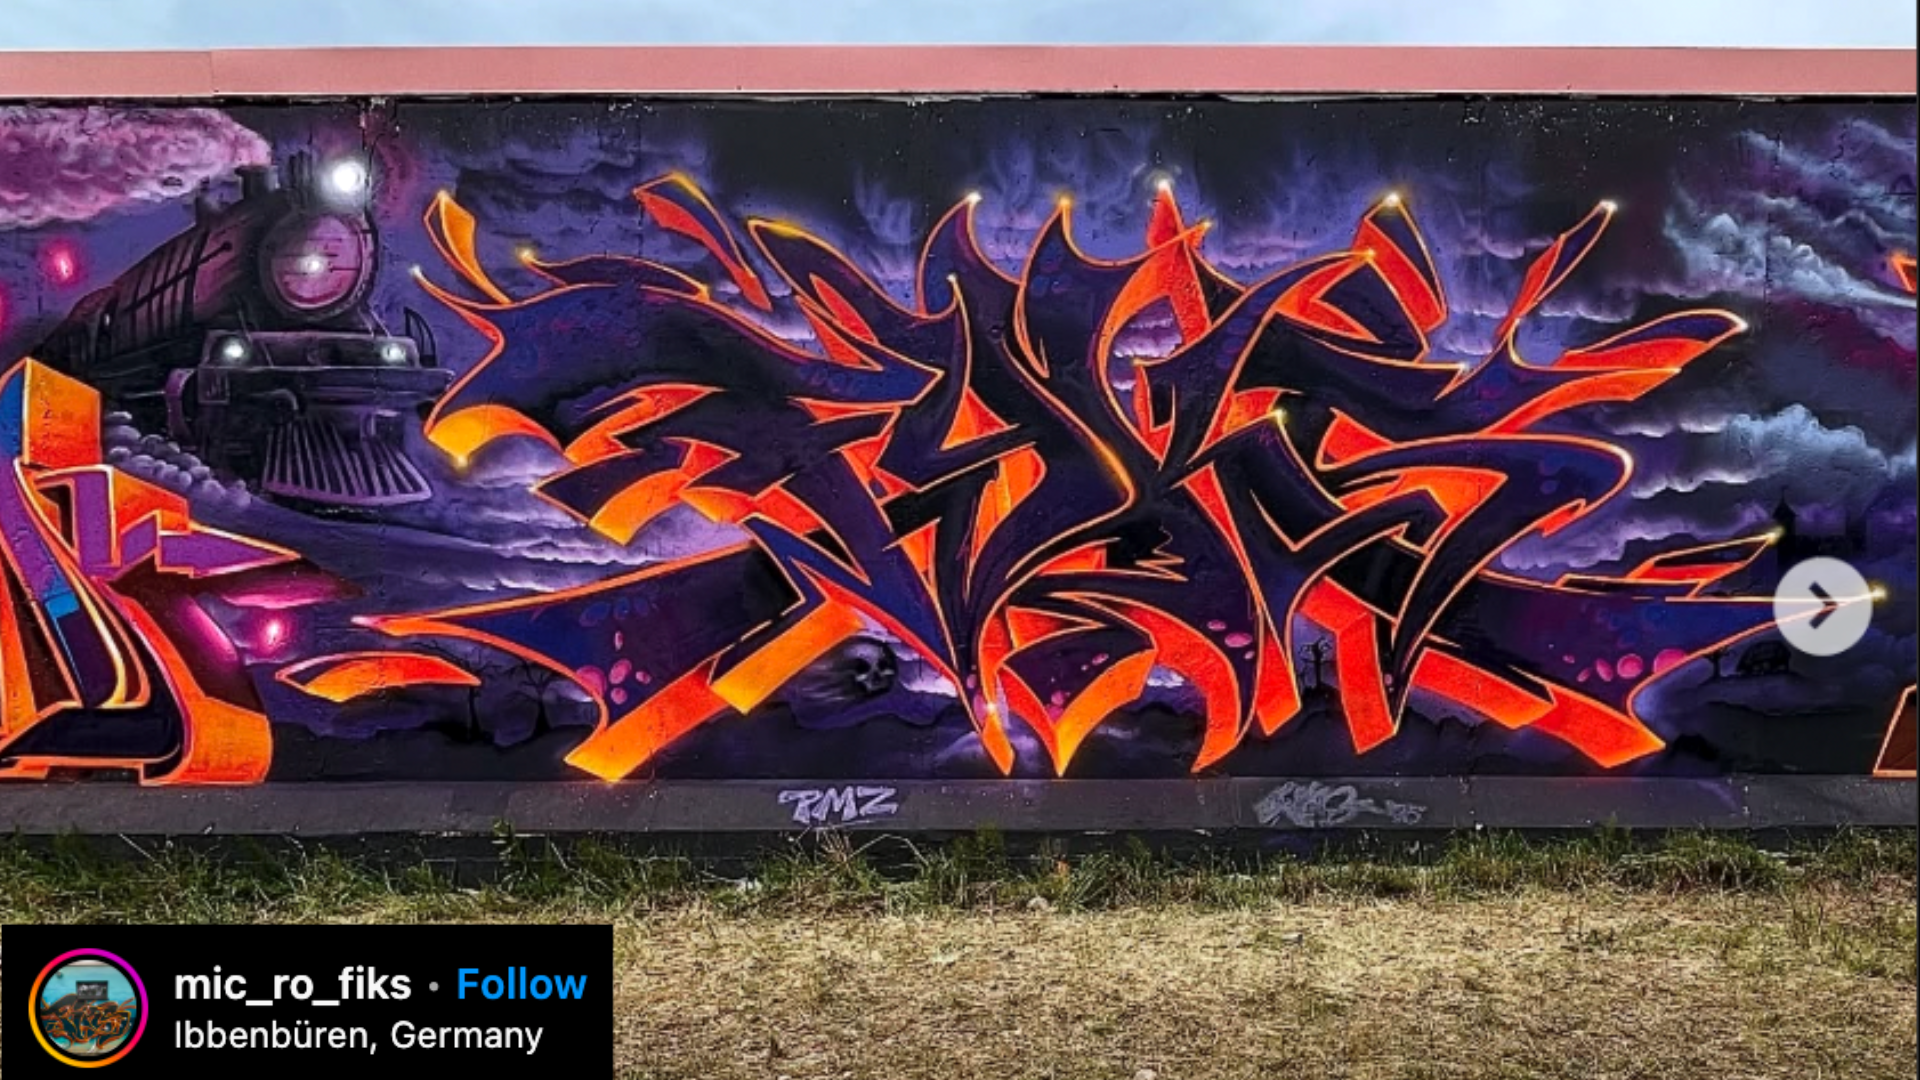
Fyks has an amazing piece here, and throughout his various walls, we see the same details pop up time and time again. Every graffiti writer develops a “fingerprint”, a unique style built from repeating certain visual solutions. But the danger is getting stuck in a loop. In the video, we explore how to challenge your own graffiti habits by introducing distortion, repositioning letters, and experimenting with extension types. Fyks, for example, uses a similar F pretty often, a similar extension on the Y and leg of the K, and a similar Y pretty often. These are part of his style, but if he wanted, he could take note of these habits and then refrain from using them. When doing this, you’ll be forced to find new solutions to the challenges your name poses. If Fyks wanted to add weight to the right-hand side without the extension, then he’d have to find a new way to add the weight. This might cause you to think of the S in different ways or think of new extensions as well.
3. Clean Up Shapes, Fix Tangents, and Use Depth
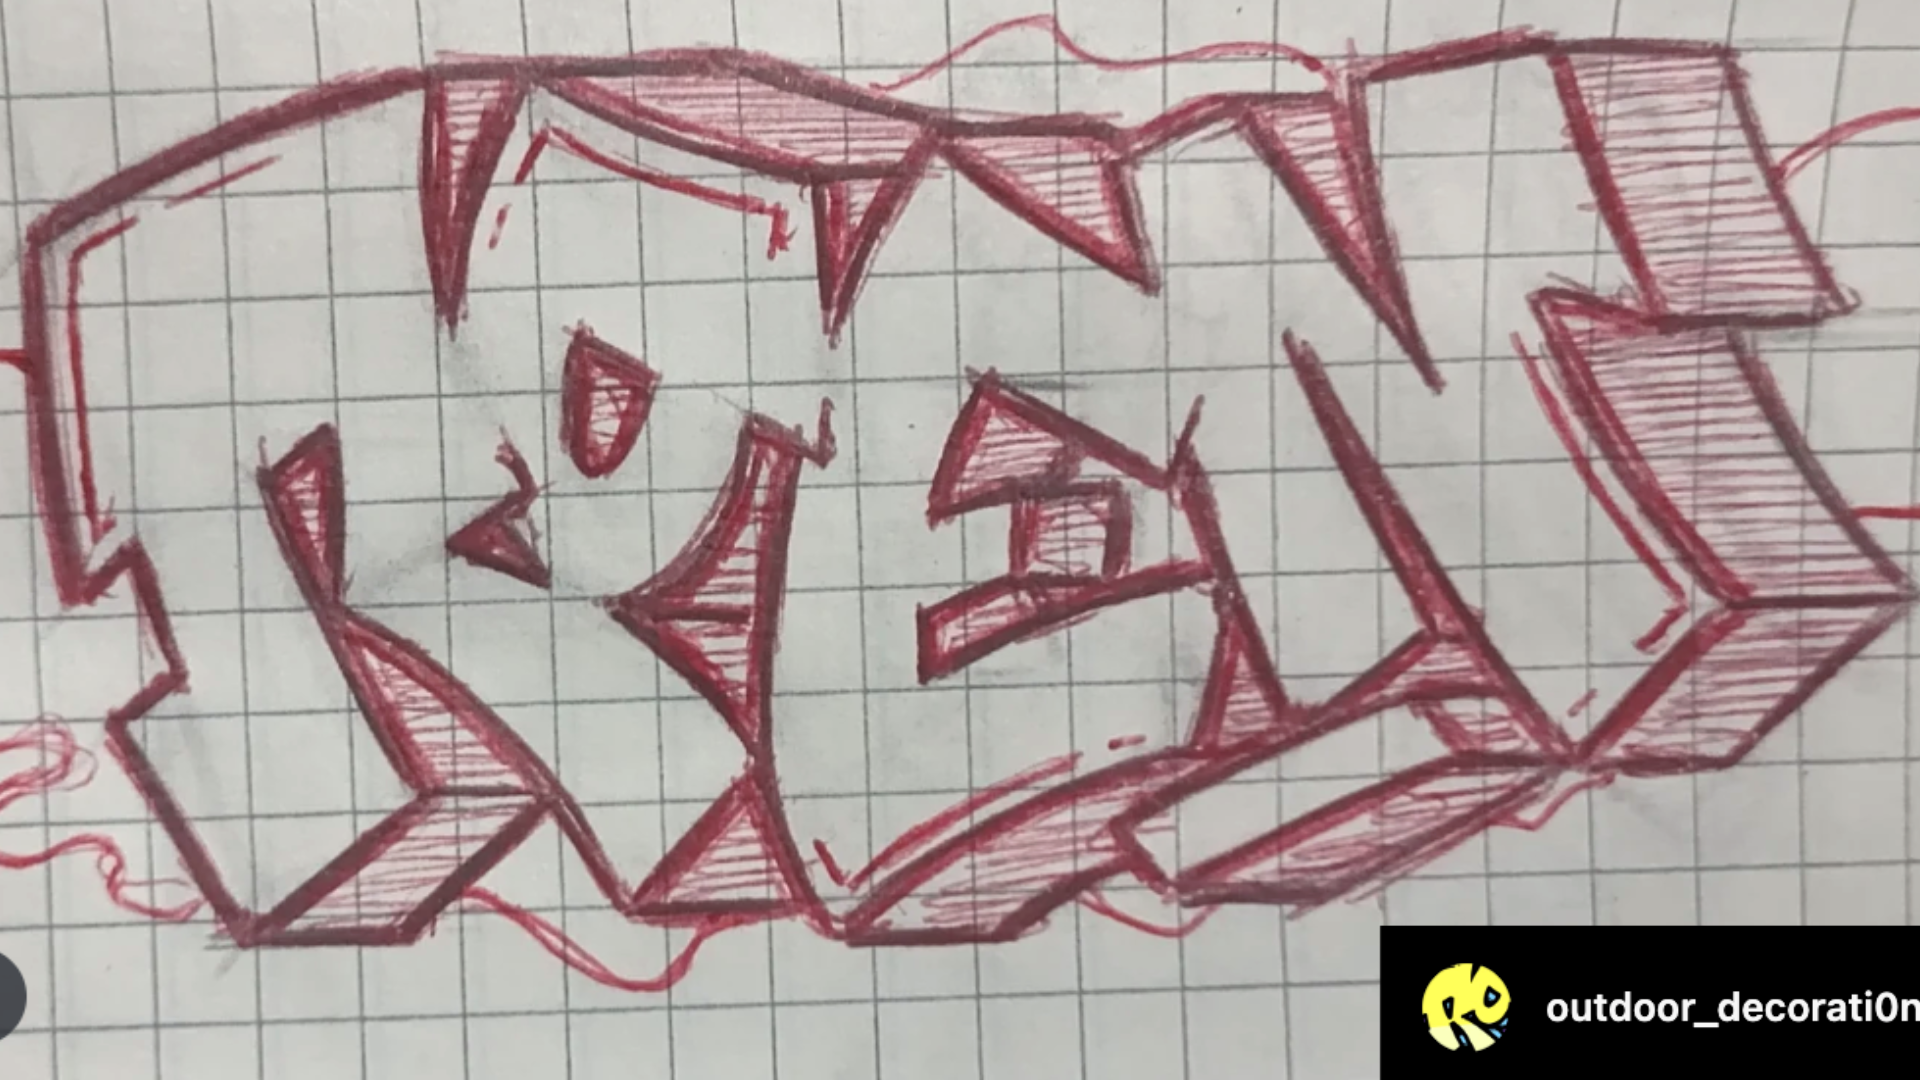
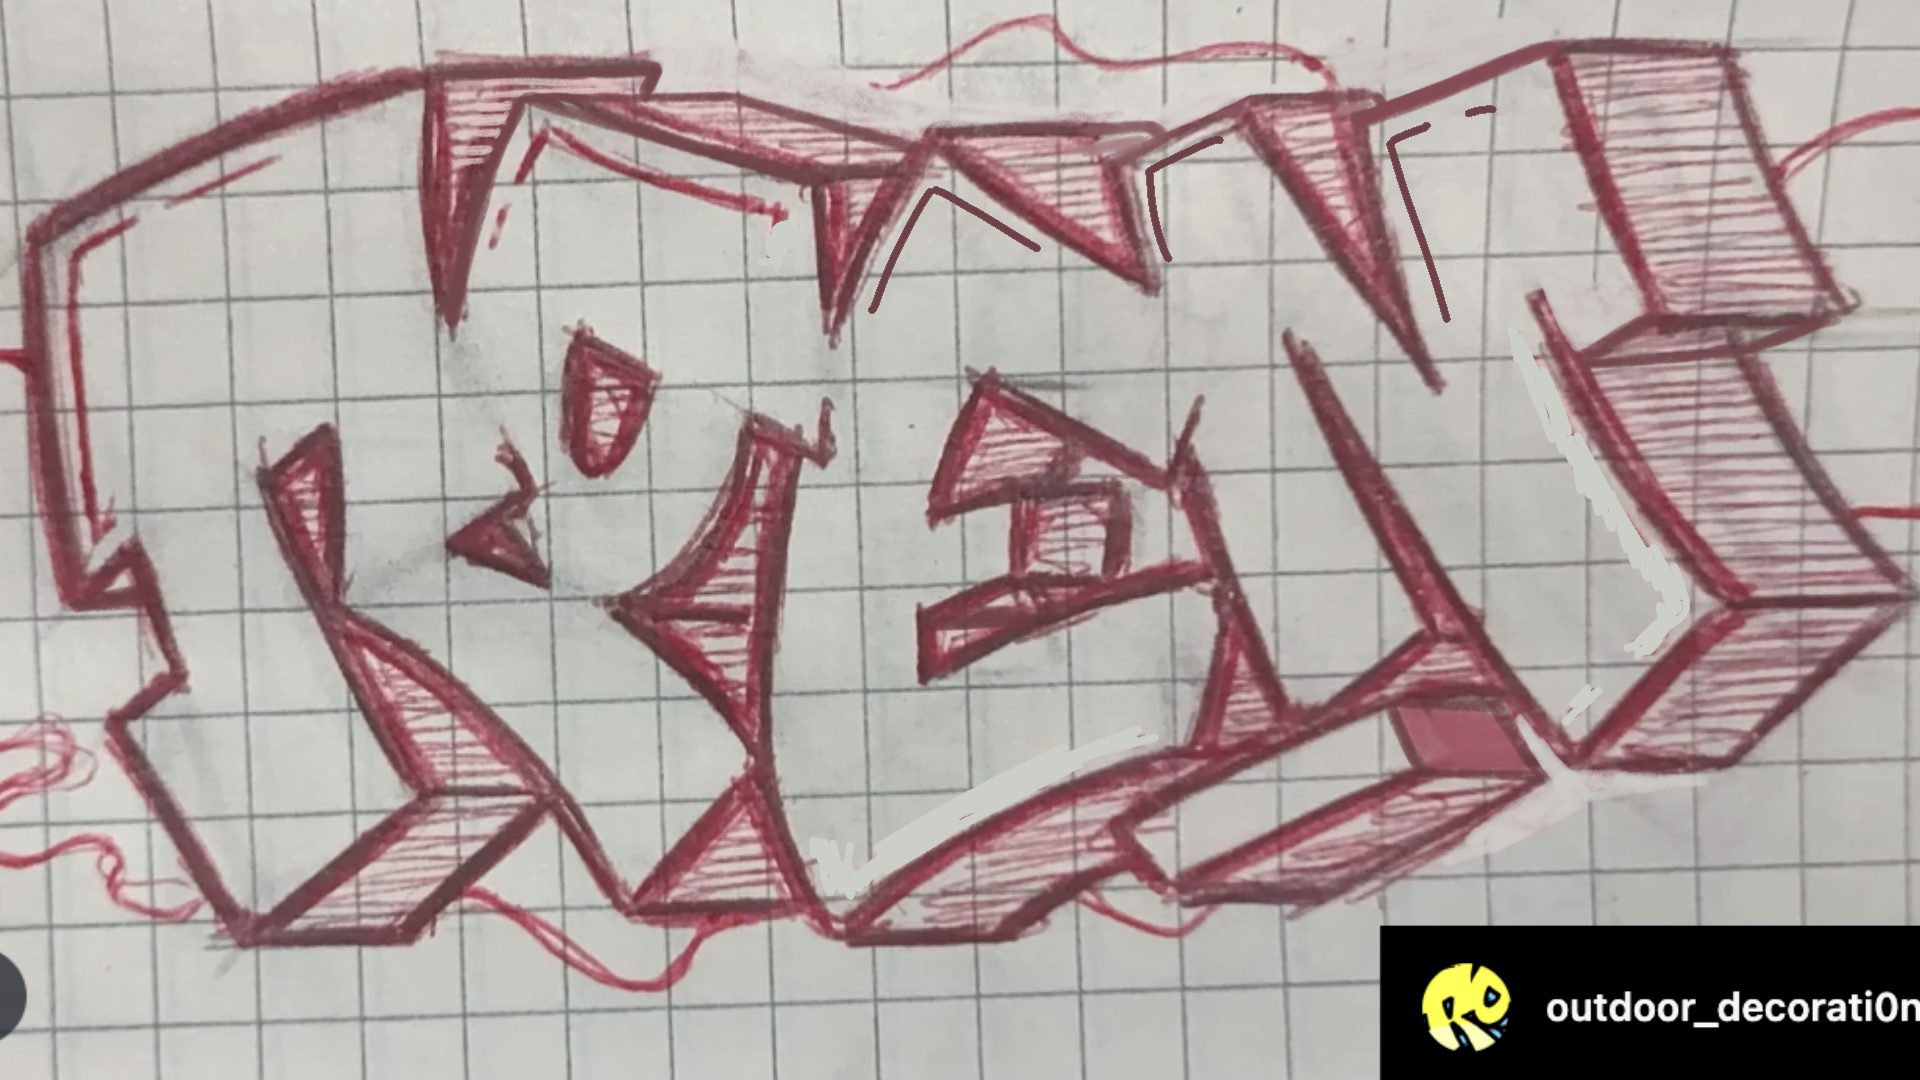
Our letters could be nearly perfect. but some poor planning with our 3D/Structure can cause issues that make our piece look less refined. Here in the Roen piece, his letters are great, textbook and really well done. However, when we pair that with the 3D we start seeing some issues. Tangets are the relationship between two objects or lines, and this relationship makes the area look flat, or confusing/unclear. In many cases, Roen’s 3D either runs directly into letter structure or other areas of 3D that line up nearly perfectly. In our iteration (on the right), we clean up the tangents and get rid of them. By doing this, we add depth to the areas the tangents used to be in, and we make the 3D structure more defined. From there, we also changed his highlights to make a more consistent lighting to the image.
If you're unsure where to start or how to avoid common mistakes, check out our graffiti fundamentals book available online; it’s packed with real lessons and photos to guide your development as an artist.
Grab a digital copy here: Ultimate Graffiti Guide Book Part 1: Fundamentals